Helmut4 Cluster System
Installation
The installation of this system has higher complexity compared to a single-server instance, necessitating additional preparations in advance.
Docker Swarm - Cluster Prerequisites
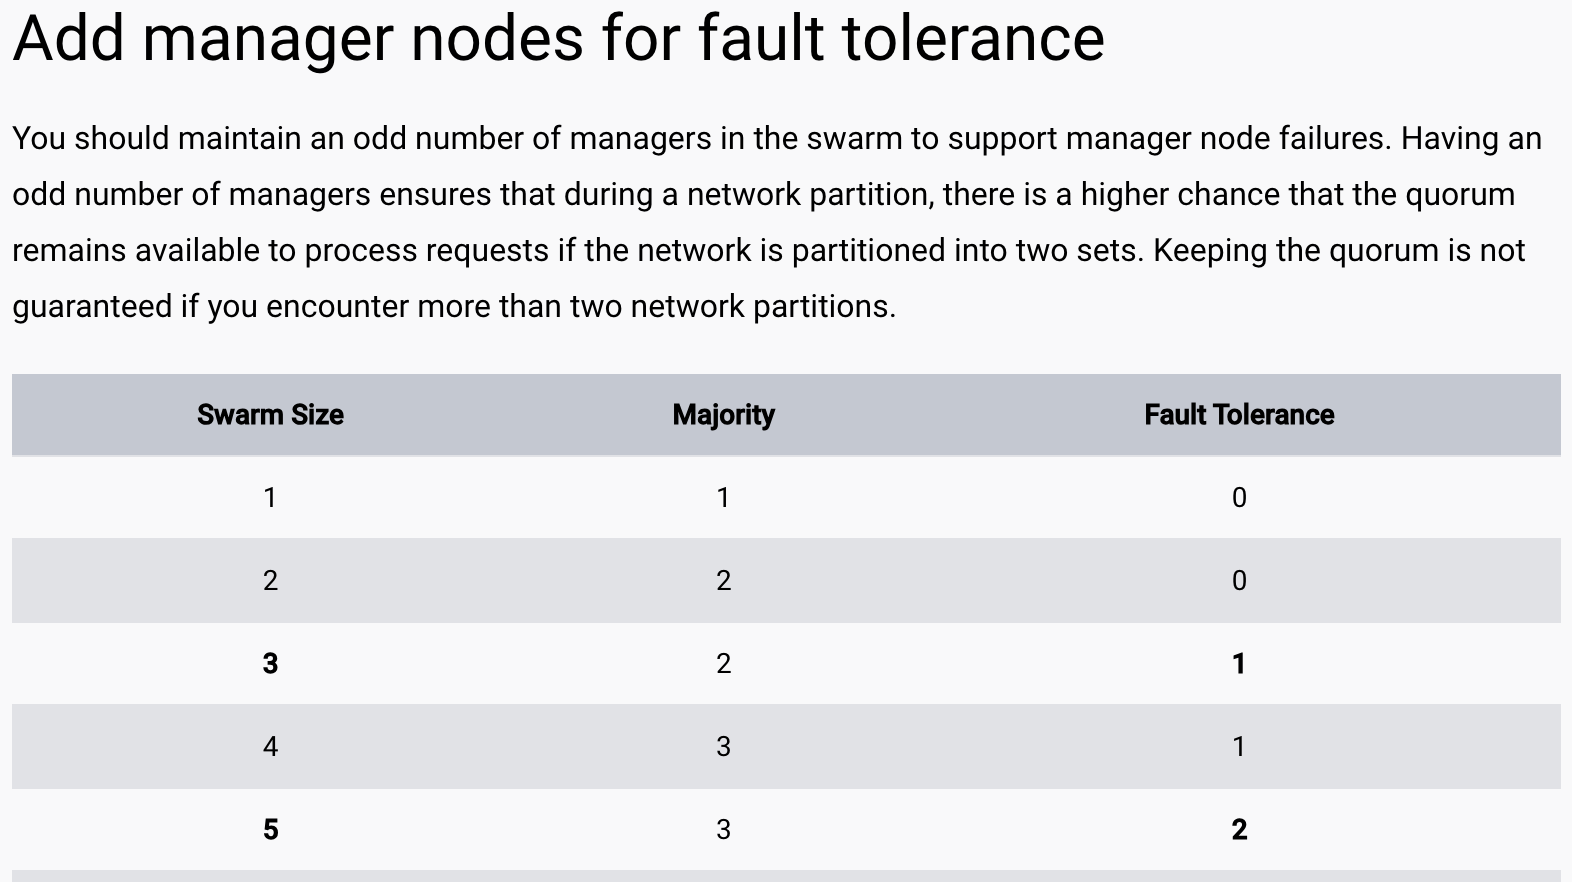
Ensure that you thoroughly review the official Docker Swarm documentation beforehand to comprehend the technical architecture, particularly in scenarios where one or multiple worker nodes may not be available.

DNS / SSL / Load Balancer
For optimal performance, customers are advised to deploy an external load balancer to efficiently distribute incoming traffic across available machines. The load balancer can be implemented as a dedicated hardware appliance, a software-based solution, or via a DNS-based routing configuration, depending on deployment needs and performance requirements. Additionally, a dedicated SSL certificate—with an associated DNS name—must be configured to ensure secure, encrypted communications.
For ease of access, it is also recommended to use a user-friendly DNS name (e.g., "helmut4") rather than relying on IP addresses or long, complex DNS names, simplifying access for end user.
Please note that both the external load balancer and the SSL certificate are required to be provided by the customer.
Prerequisites
Before commencing the installation, ensure seamless communication between the servers via the network. Consider storing the hostname-IP/DNS reference in /etc/hosts.
Ensure that no pre-configured Docker or Portainer is already installed on the system.
Network storage
Helmut4 is storage-agnostic, meaning the system requires at least one share to function properly, though it can work with multiple shares. Each share must be mounted on the Linux host system and within specific Docker containers.
Ensure at least one storage is mounted via fstab before initiating the installation, as it is essential for the process.
This step needs to be performed on every server individually.
Docker environment
As Helmut4 operates within a Docker environment, the installation of these components is necessary. If the host is in a restricted network, it may be required to install these components in advance or temporarily allow access to the corresponding repositories.
This installation must be carried out individually on each server.
Please refer to the Docker installation guidelines provided in the official docker documentation
Additional dependencies
In addition, these two dependencies are required for Helmut4:
httpie
jq
Docker swarm configuration
Initiate SSH connections to all servers and execute the following command on the initial server host:
Copy the provided token and paste it onto all other hosts to designate them as managers:
Verify the newly created Swarm cluster by executing the following command:
Portainer configuration
Following the successful installation of the Docker environment and the creation of the Swarm cluster, it is essential to set up Portainer on each host.
By default, the Helmut4 installation script / installation guideline installs Portainer CE (Community Edition). Switching from CE to EE (Enterprise Edition) can be done without any issues.
However, please note that EE requires a valid license. For updating Portainer, please follow the instructions in the Docker & Portainer Update guide.
Proceed to the main host and access Portainer, which operates on port 9000:
Portainer web GUI http://ip-helmutserver:9000
The default login credentials are set to admin/admin.
We strongly recommend changing this password as soon as possible!
Setting up MoovIT docker repository
Navigate to Registries and configure a new custom repository.
MoovIT registry for Portainer
Name: MoovIT GmbH URL: repo.moovit24.de:443 Authentication: true Username: request via email: [email protected] Password: request via email: [email protected]
It is important to write the URL at the end with :443, otherwise the images will not be loaded when deploying the Helmut stack!
Repeat this steps on every other host.
Deploy cluster stack
Download the stack file for the cluster from this link:
Navigate to Portainer on the main host and create a new stack:
Click 'Deploy' and wait until all instances of the 'mongodbrs' container have been deployed to every host before proceeding with the next steps.
Create mongodb replica set
Now, create a MongoDB replica set. Establish an SSH connection to the main host and execute the following commands:
We recommend manually updating Helmut4 to the latest snapshot release following the completion of the previous configuration steps.
Misc configuration
Snapshot Server version
On every host, create a text file containing the current snapshot version.
Helmut4 Server update script
Configure the 'helmut-update' and 'helmut-snapshot' commands, both of which are employed for updating Helmut4.
Mount network shares into Docker
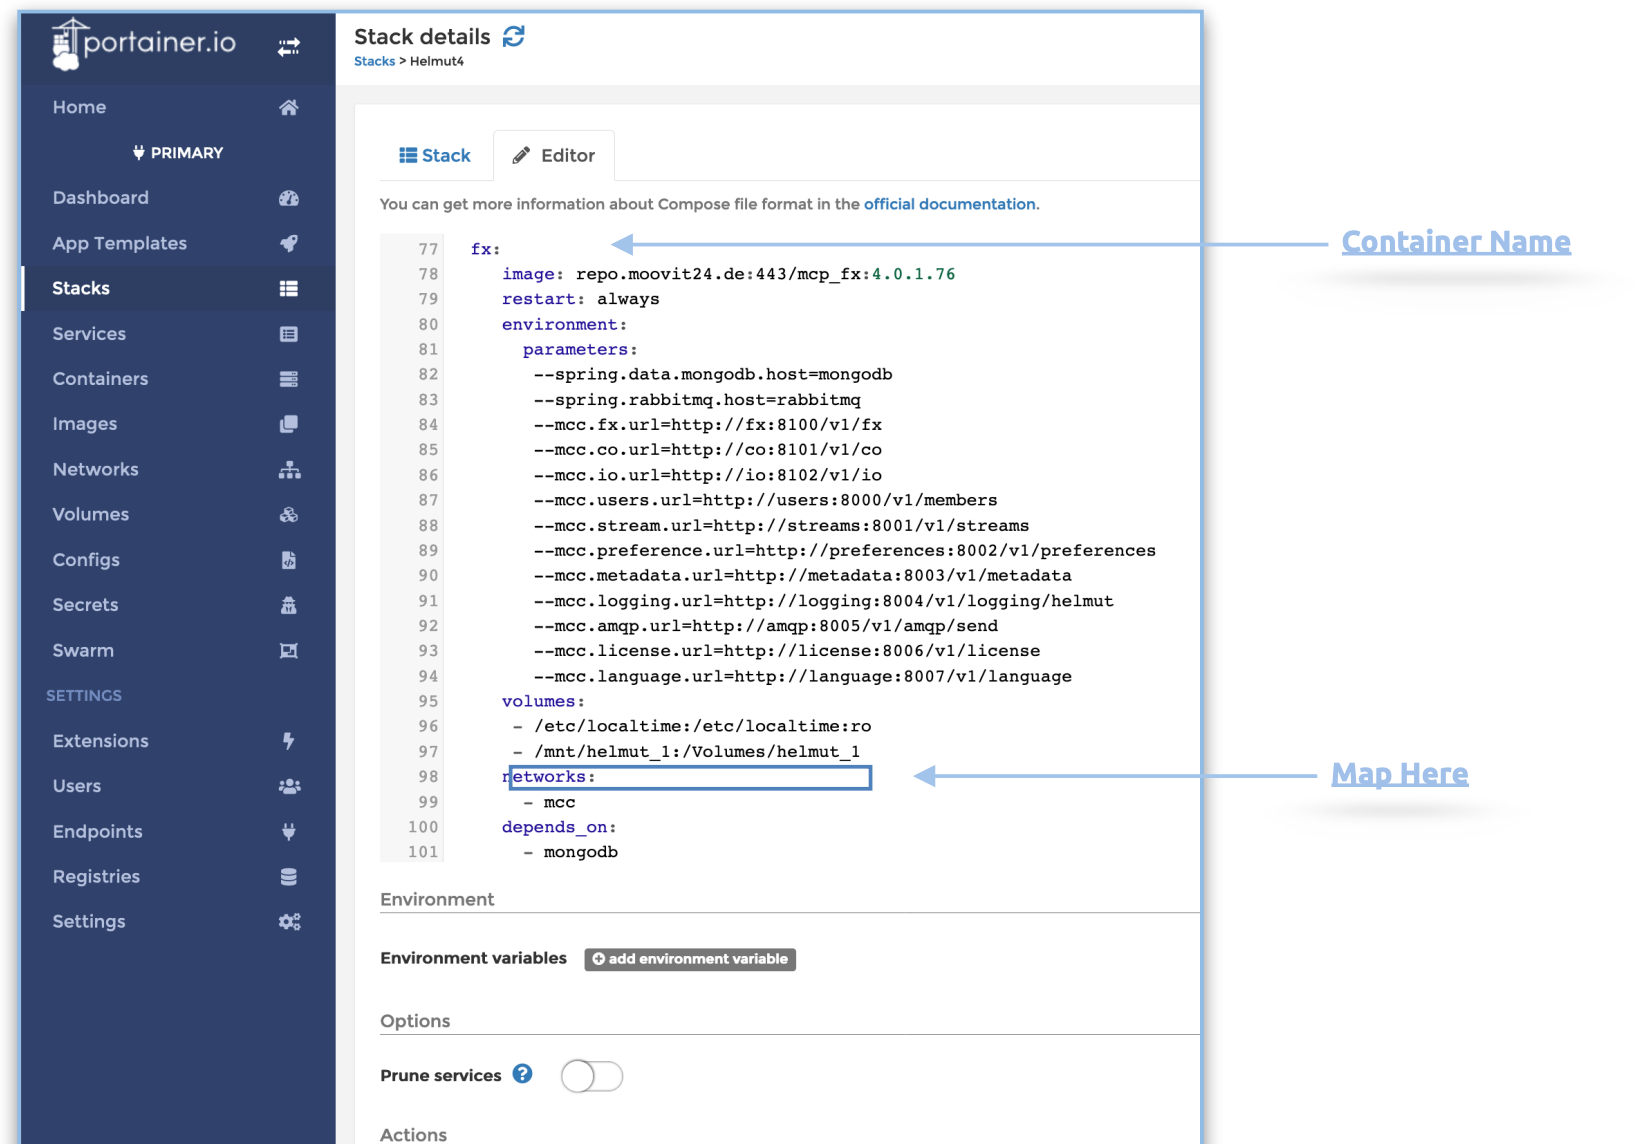
Each drive intended for system inclusion must undergo mapping into the container. This involves first mounting the drive at the operating system level. Once mounted at the operating system level, the drive is then mapped into the Docker container using the following process:
Drive on operating system level: /mnt/helmut
Drive on Docker container level: /Volumes/helmut
Drive mapped between operation system level and Docker container: /mnt/helmut_1:/Volumes/helmut_1
The 'mnt to Volumes' mapping is established to facilitate seamless workflows on Mac OS X, with every network share being mounted to /Volumes.
There are five distinct containers that consistently require access to specific volumes to execute designated tasks. For instance, if the server is tasked with creating projects on a designated volume, that volume must be mapped into the FX Container, as this container is responsible for project creation.
To add a volume to a container, follow these steps:
click on “primary”
click on “stacks”
click on “helmut4”
click on the tab “Editor"
Locate the following services (fx, io, co, streams, users) and adjust the volumes entry accordingly.

Include or modify the volumes as needed, and click 'Update Stack' once you have completed this task.
For instance, include the shared folder 'testing,' mapped on the host, into the directory /mnt/testing.
volumes:
- /etc/localtime:/etc/localtime:ro
- /mnt/helmut:/Volumes/helmut
- /mnt/testing:/Volumes/testing
Setting up mongobackup volume
For additional information, please navigate to the following link: Define mongobackup volume
Optional network adjustment
Consider potential network adjustments, such as those applicable to VMware ESXi.
On certain hosts, such as VMware, it may be necessary to adjust the network interface settings. If not all containers are starting, consider checking the checksum settings on each host/network adapter.
Retrieve the current status by executing the following command on each host, replacing 'INTERFACENAME' with your specific interface name (e.g., eth0, ens32, etc.).
Working result: rx-checksumming: off tx-checksumming: off
Not working result: rx-checksumming: on tx-checksumming: on
If your result is 'on,' it is necessary to disable checksumming.
Use the following commands to persistently set tx/rx checksum to 'off' after reboot on Ubuntu TLS:
Add the following content and replace it with your INTERFACE NAME (e.g., eth0, ens32, etc.):
Save the script and adjust file permissions. Afterward, reboot the host:
After the server reboots, verify the checksum status:
Updating Helmut4
Helmut 4 offers two update channels - main/stable and development.
For more information, please refer to the Upgrade Guide - Helmut4 Server section.
Last updated