This CO event will be triggered when the 'Web_Upload' of an asset ingest is utilized.
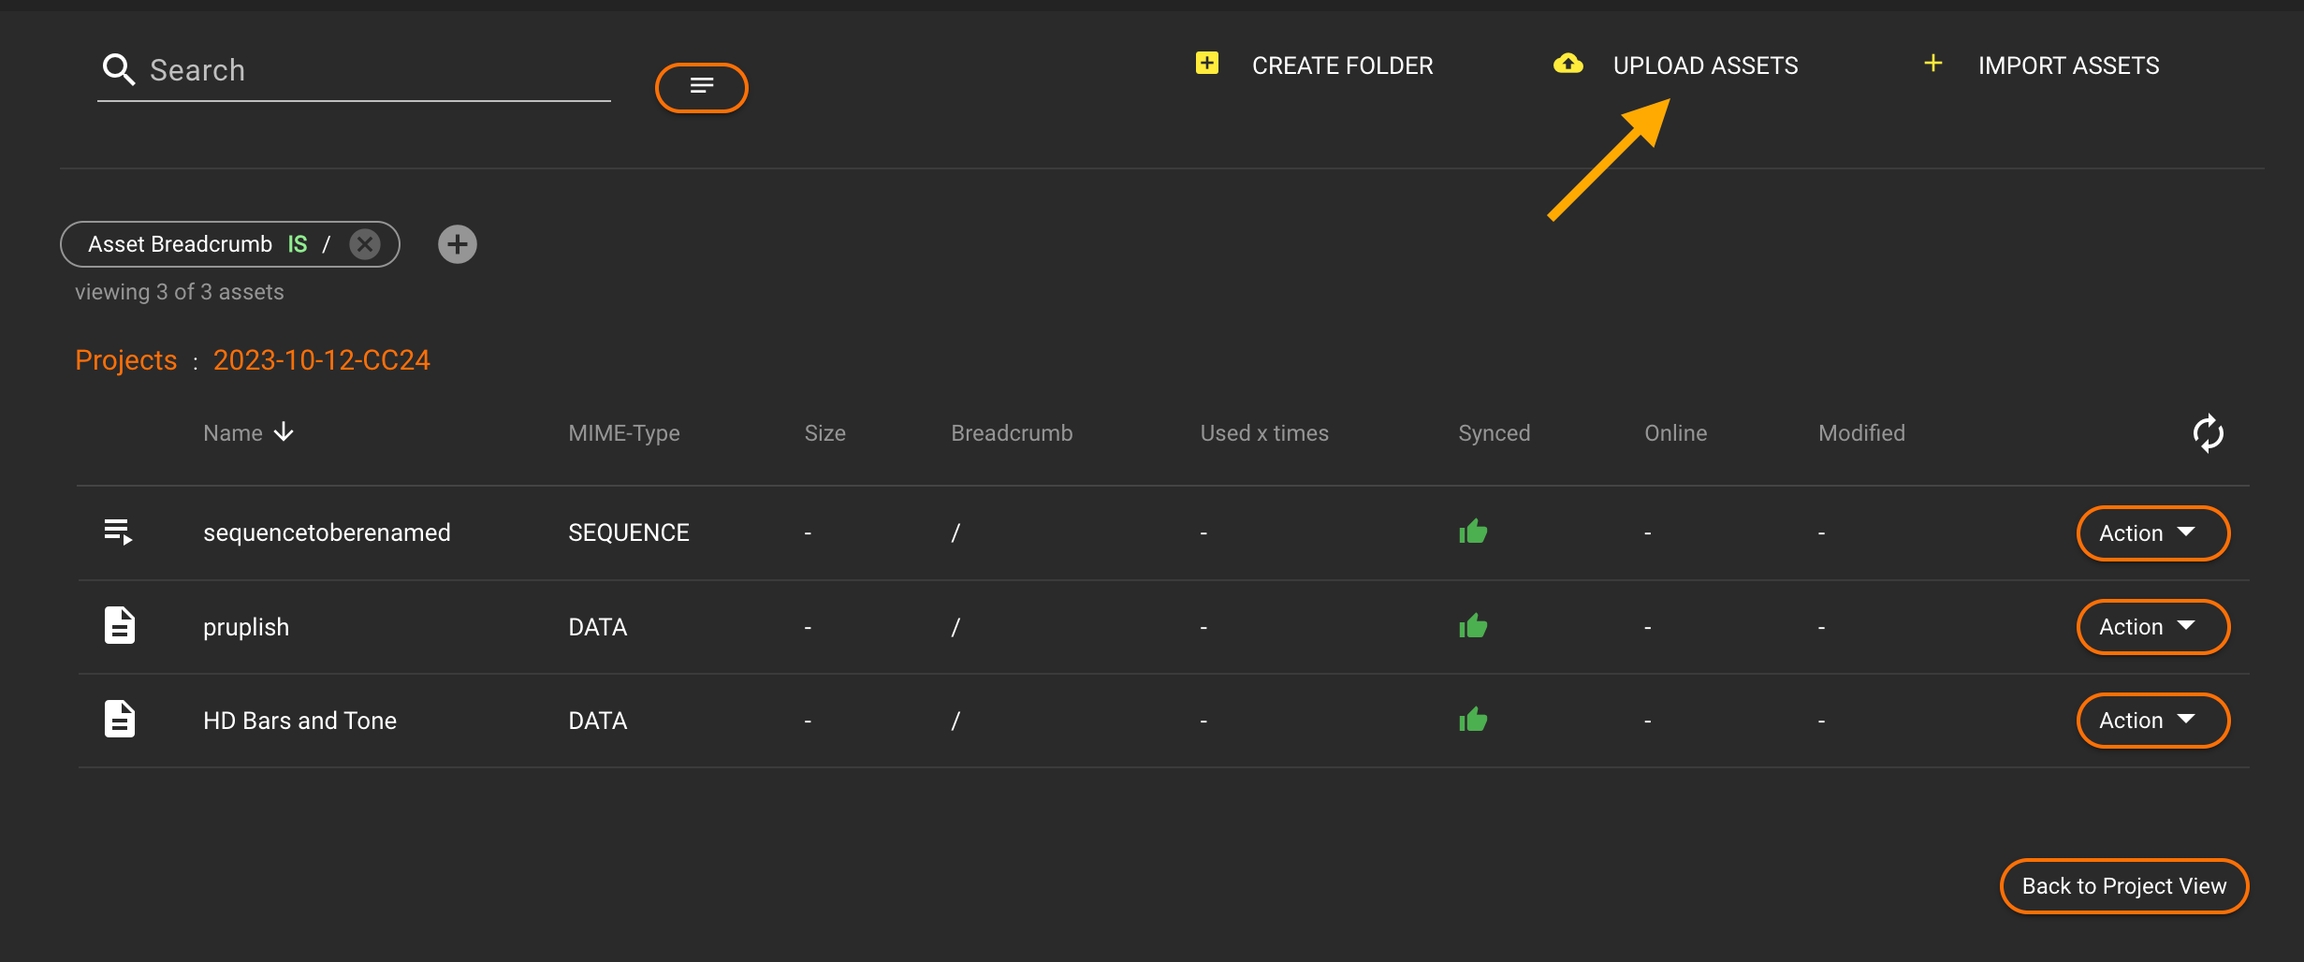
The 'Web_Upload' can be accessed while viewing a project within Cosmo; at the top right, there is a dedicated 'Upload Assets' button. When clicked, a new overlay will open, providing various input options.
The significant distinction between Web Import (import asset) and Web Upload (upload asset) is quite straightforward.
Web Import manages any asset on a local system level, accessing them through a local file chooser. This enables the setup of fast and streamlined import workflows.
On the other hand, Web Upload utilizes a different approach to upload and ingest assets. In this scenario, assets are uploaded via the browser in advance. Once the upload process is complete, the actual stream starts.
Pros:
Access on a client/host level
Fast, no further processing required
Jobs can be picked up as soon as possible
Cons:
Assets might not be reachable for all render nodes (permission/availability)
Local file chooser
Pros:
Guaranteed access for any render node
Ingest client doesn't need access to the actual storage
Upload of assets via browser
Processing of web links
Cons:
Slow, upload takes additional time
Jobs can be picked once the upload is done
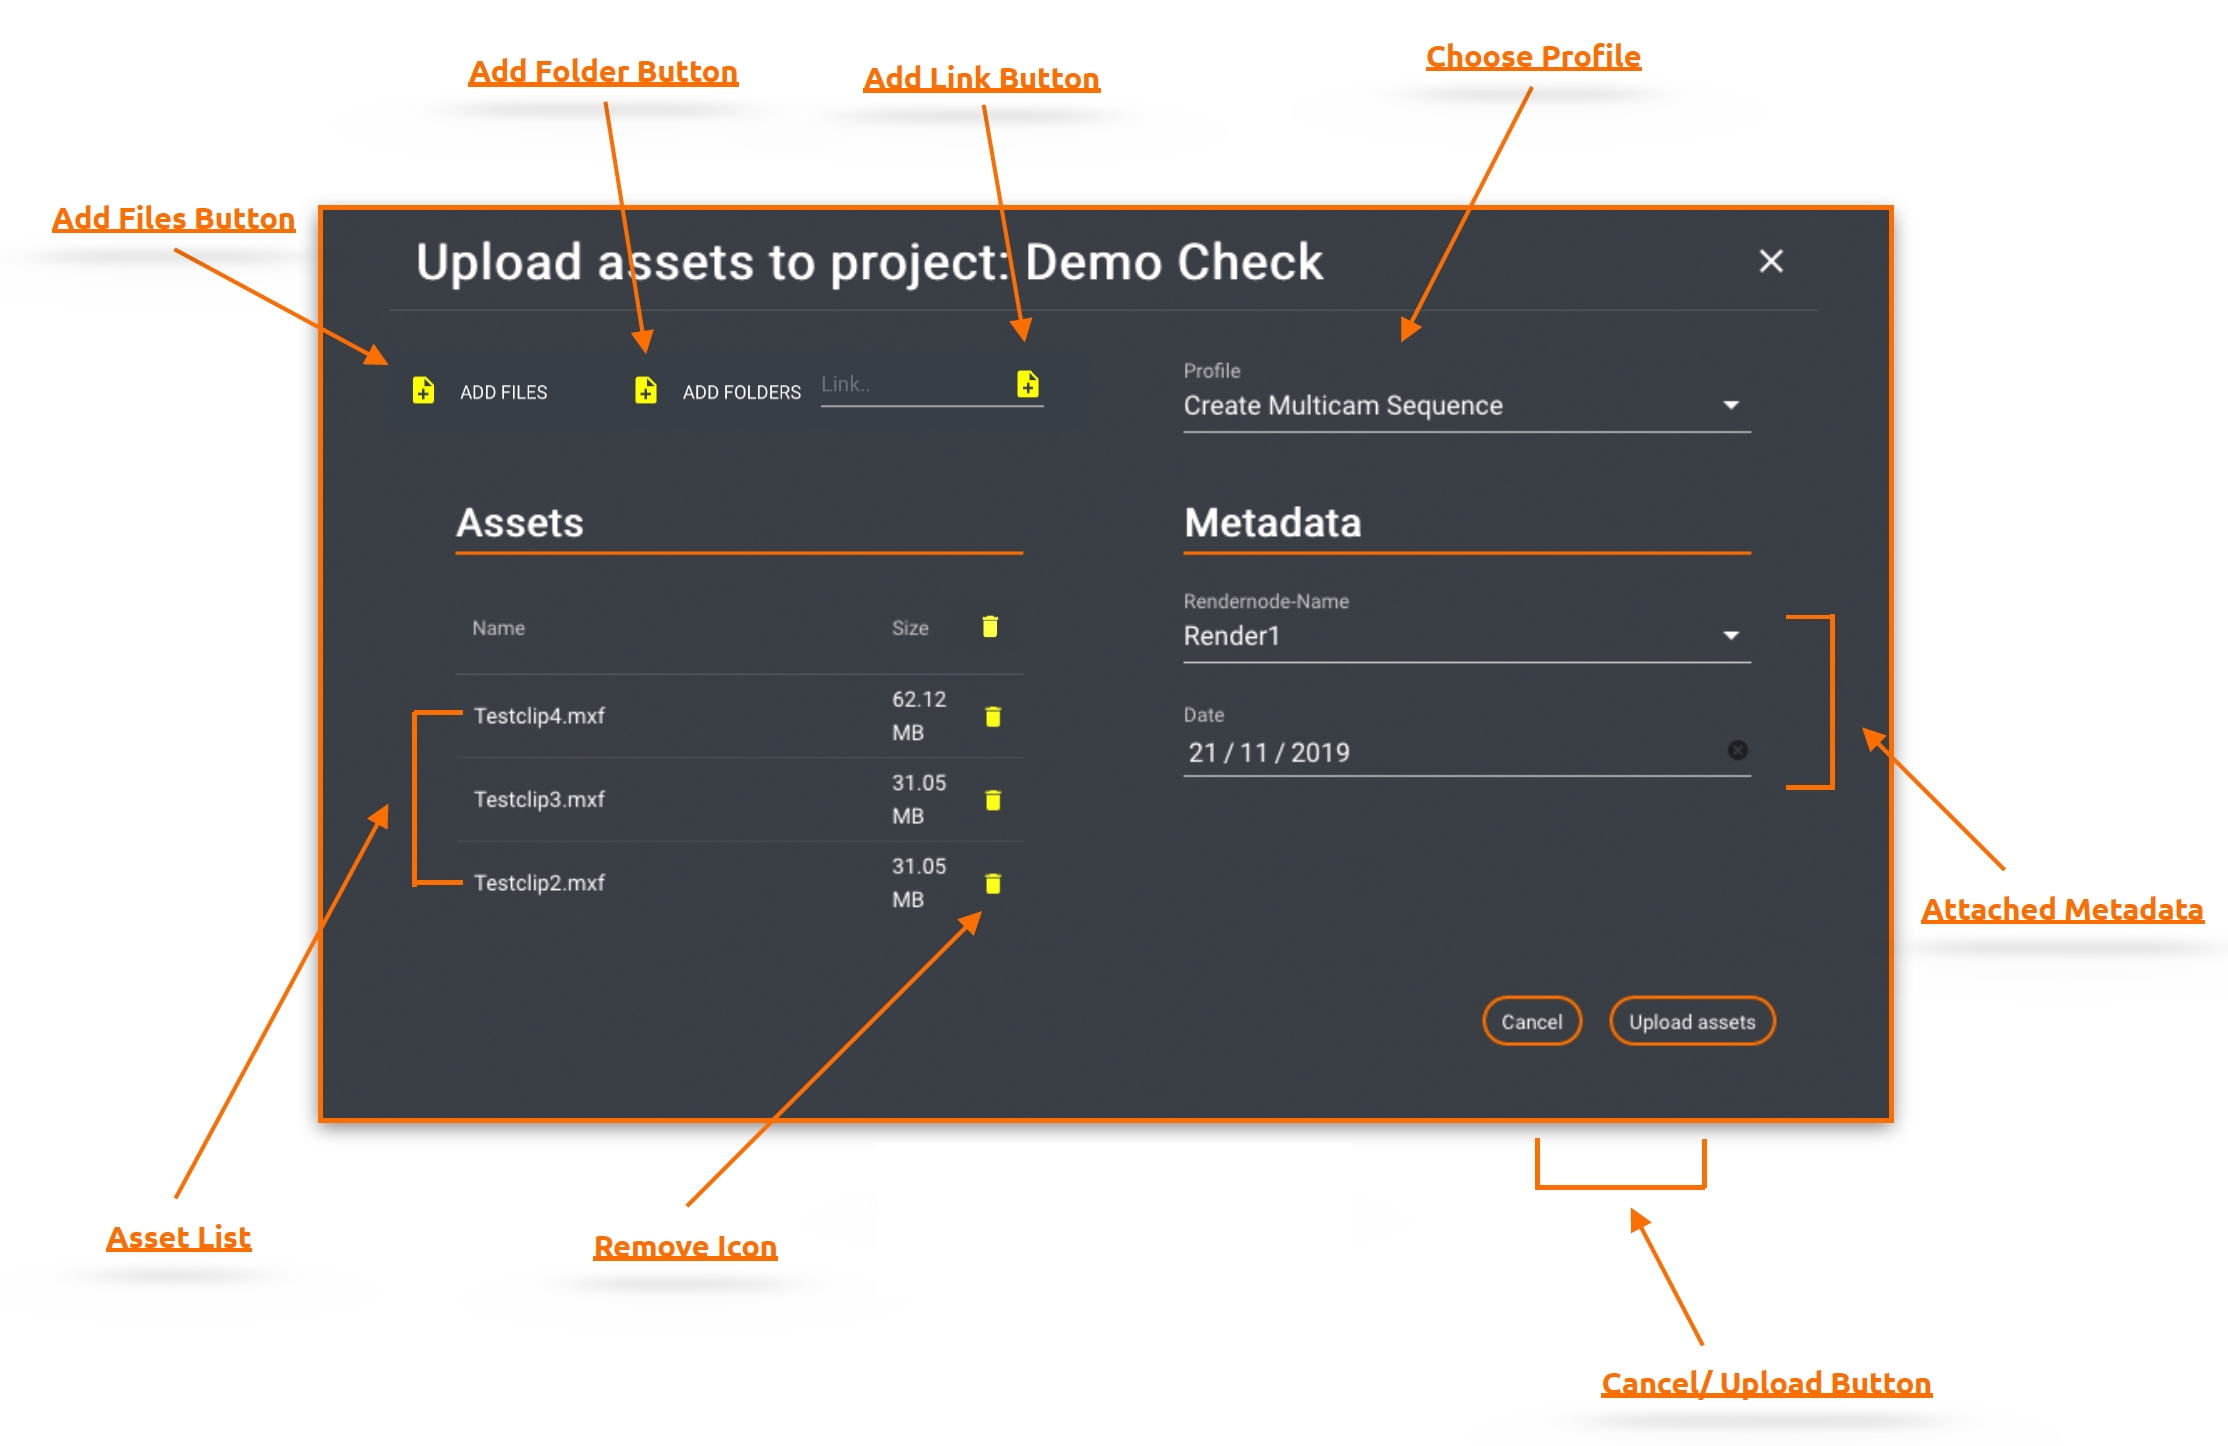
For importing assets, three options are available to select the desired files:
Add Files:
Allows the selection of assets individually (single or multiple)
Add Folders:
Allows the selection of folders individually (single or multiple)
Add Link:
Allows to add a url link to the list, by clicking the + button
It is not possible to select assets and folders together in one step.
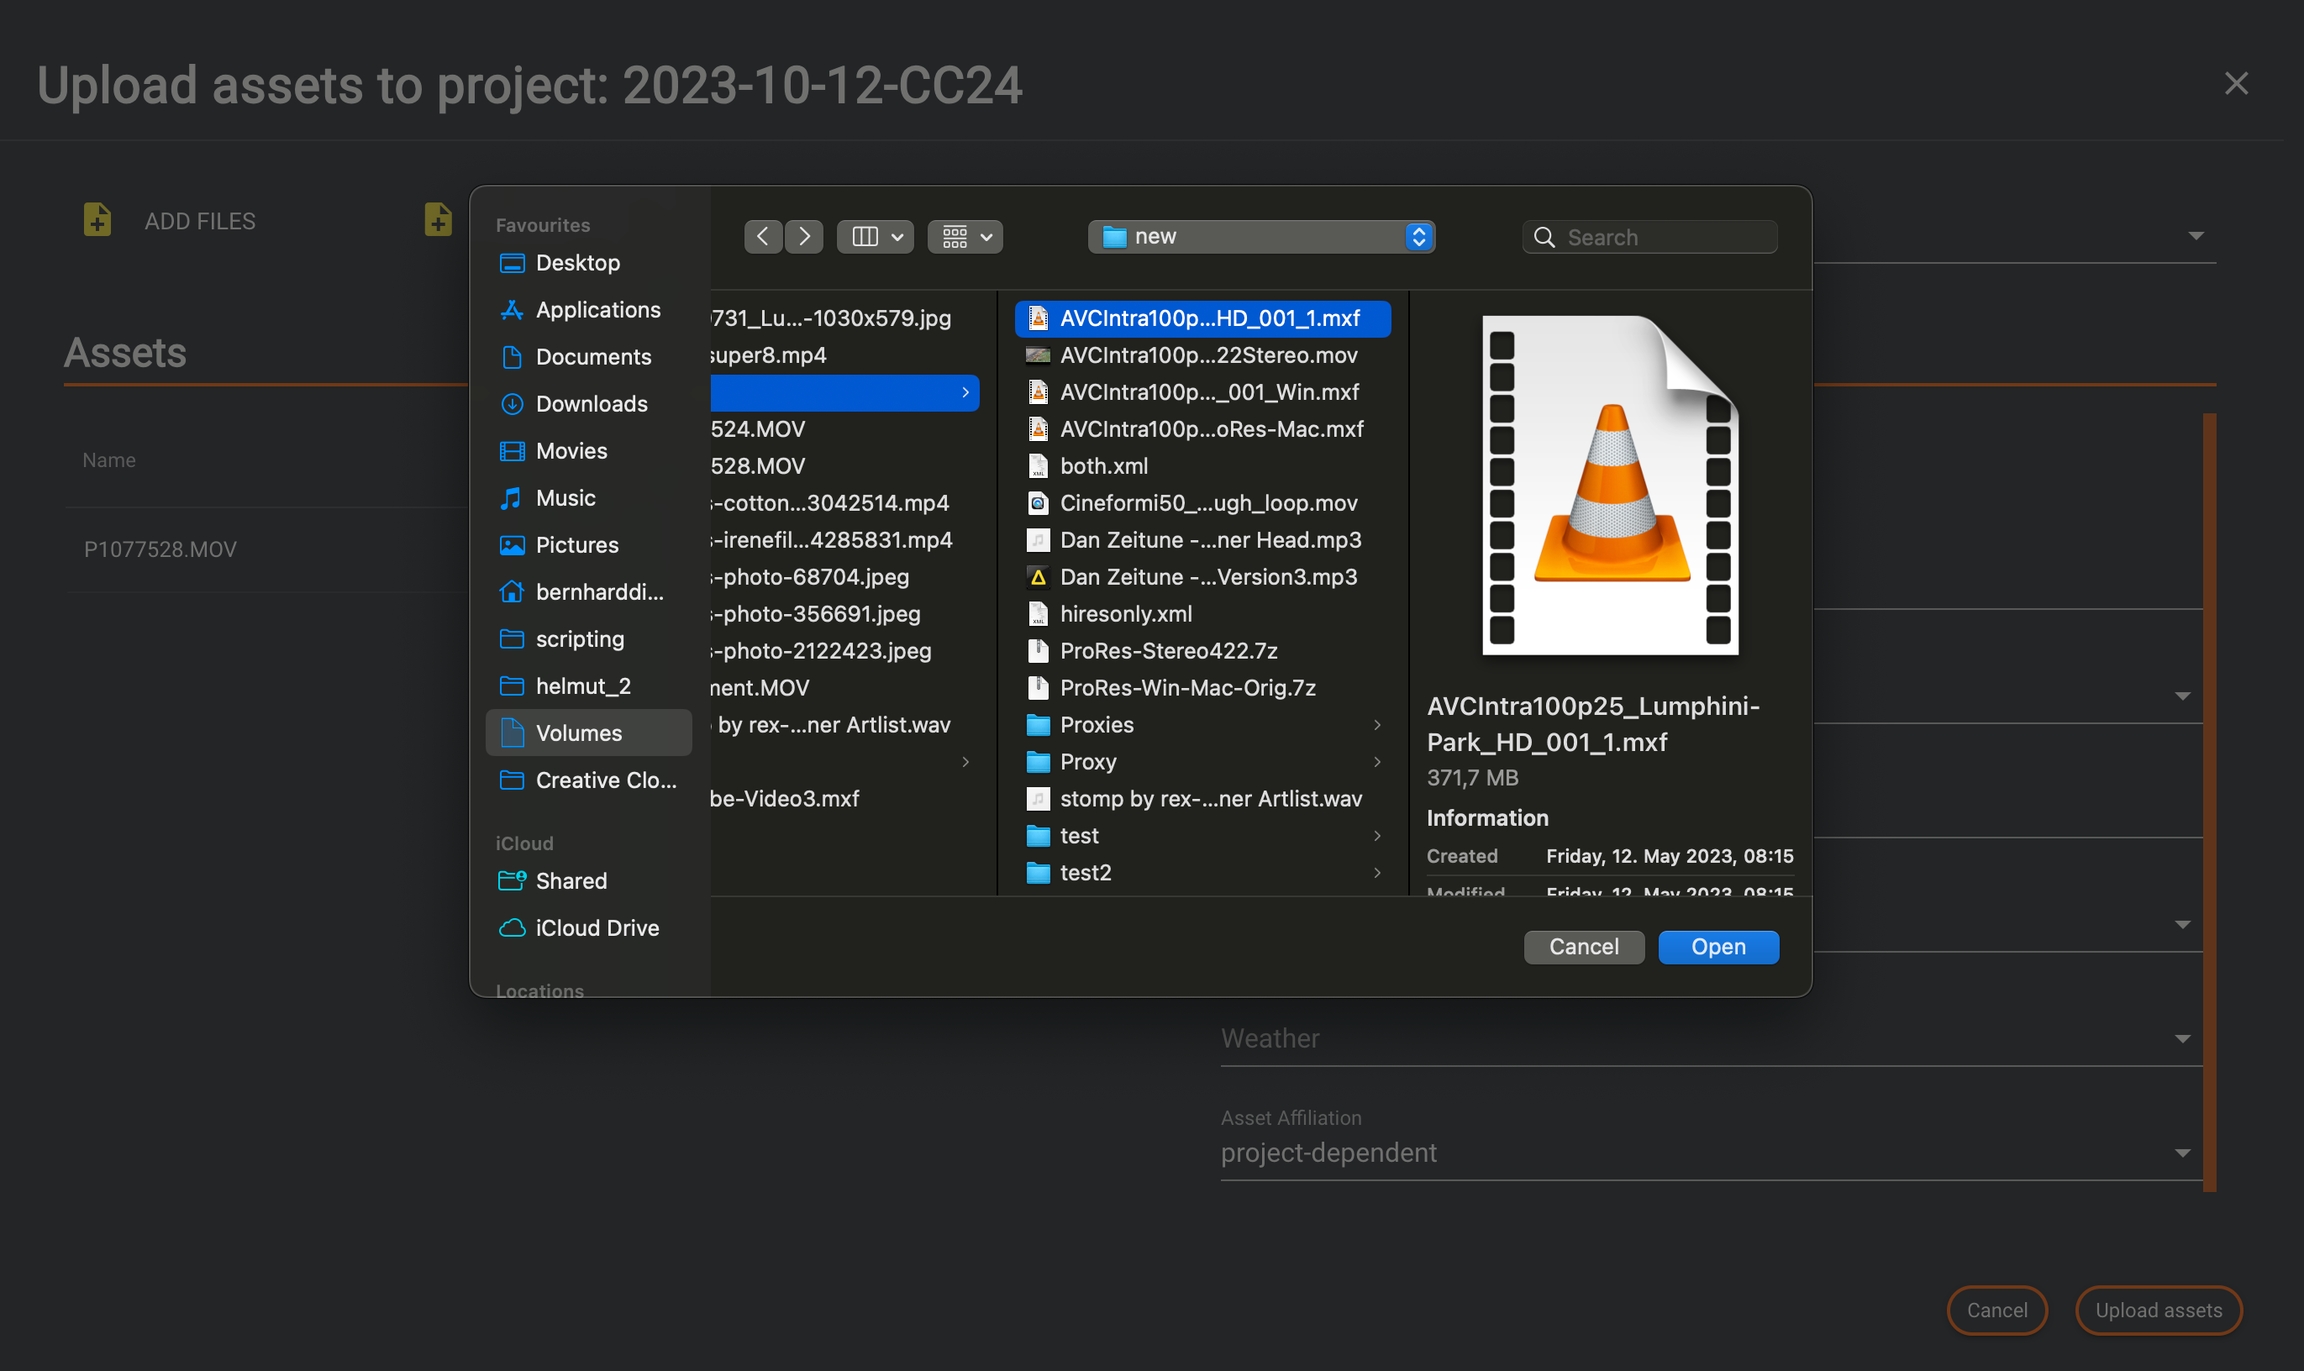
Clicking either of the two buttons opens a browser-based file chooser, which starts at the root point of your client. The file chooser will remember the last directory used on the next opening.
After clicking the 'Open' button, the overlay windows will close, and you will return to the Web Import window. Repeat the steps for additional assets if needed.
Once the selection is complete, click the 'Upload Assets' button.
For each asset, an upload job is generated and can be accessed through the dashboard menu.
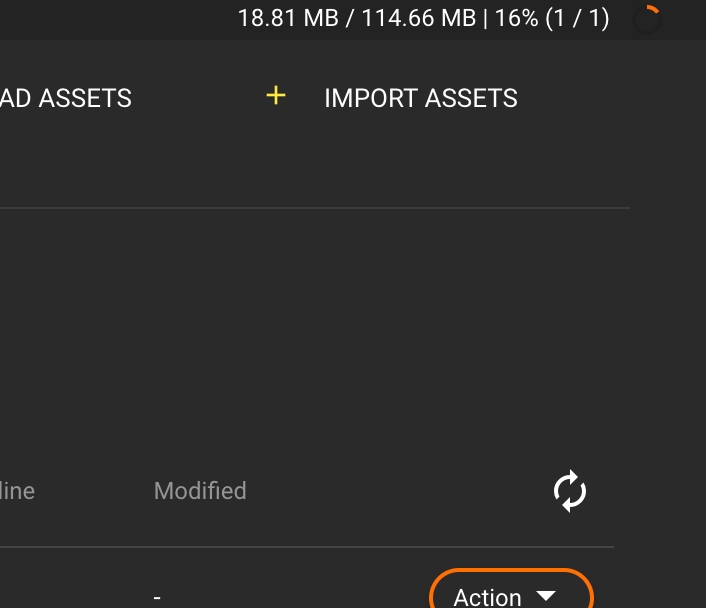
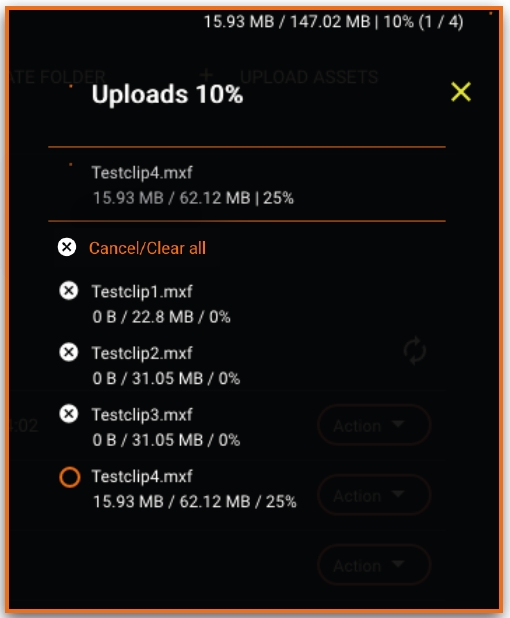
The upload progress is displayed both in the dedicated progress circle of the job and in the top-right corner of the window.
The upload monitor presents the queue of active and pending upload jobs.
Clicking on the orange circle button opens an overlay that displays more detailed information.
It is possible to cancel individual assets or the entire upload queue.
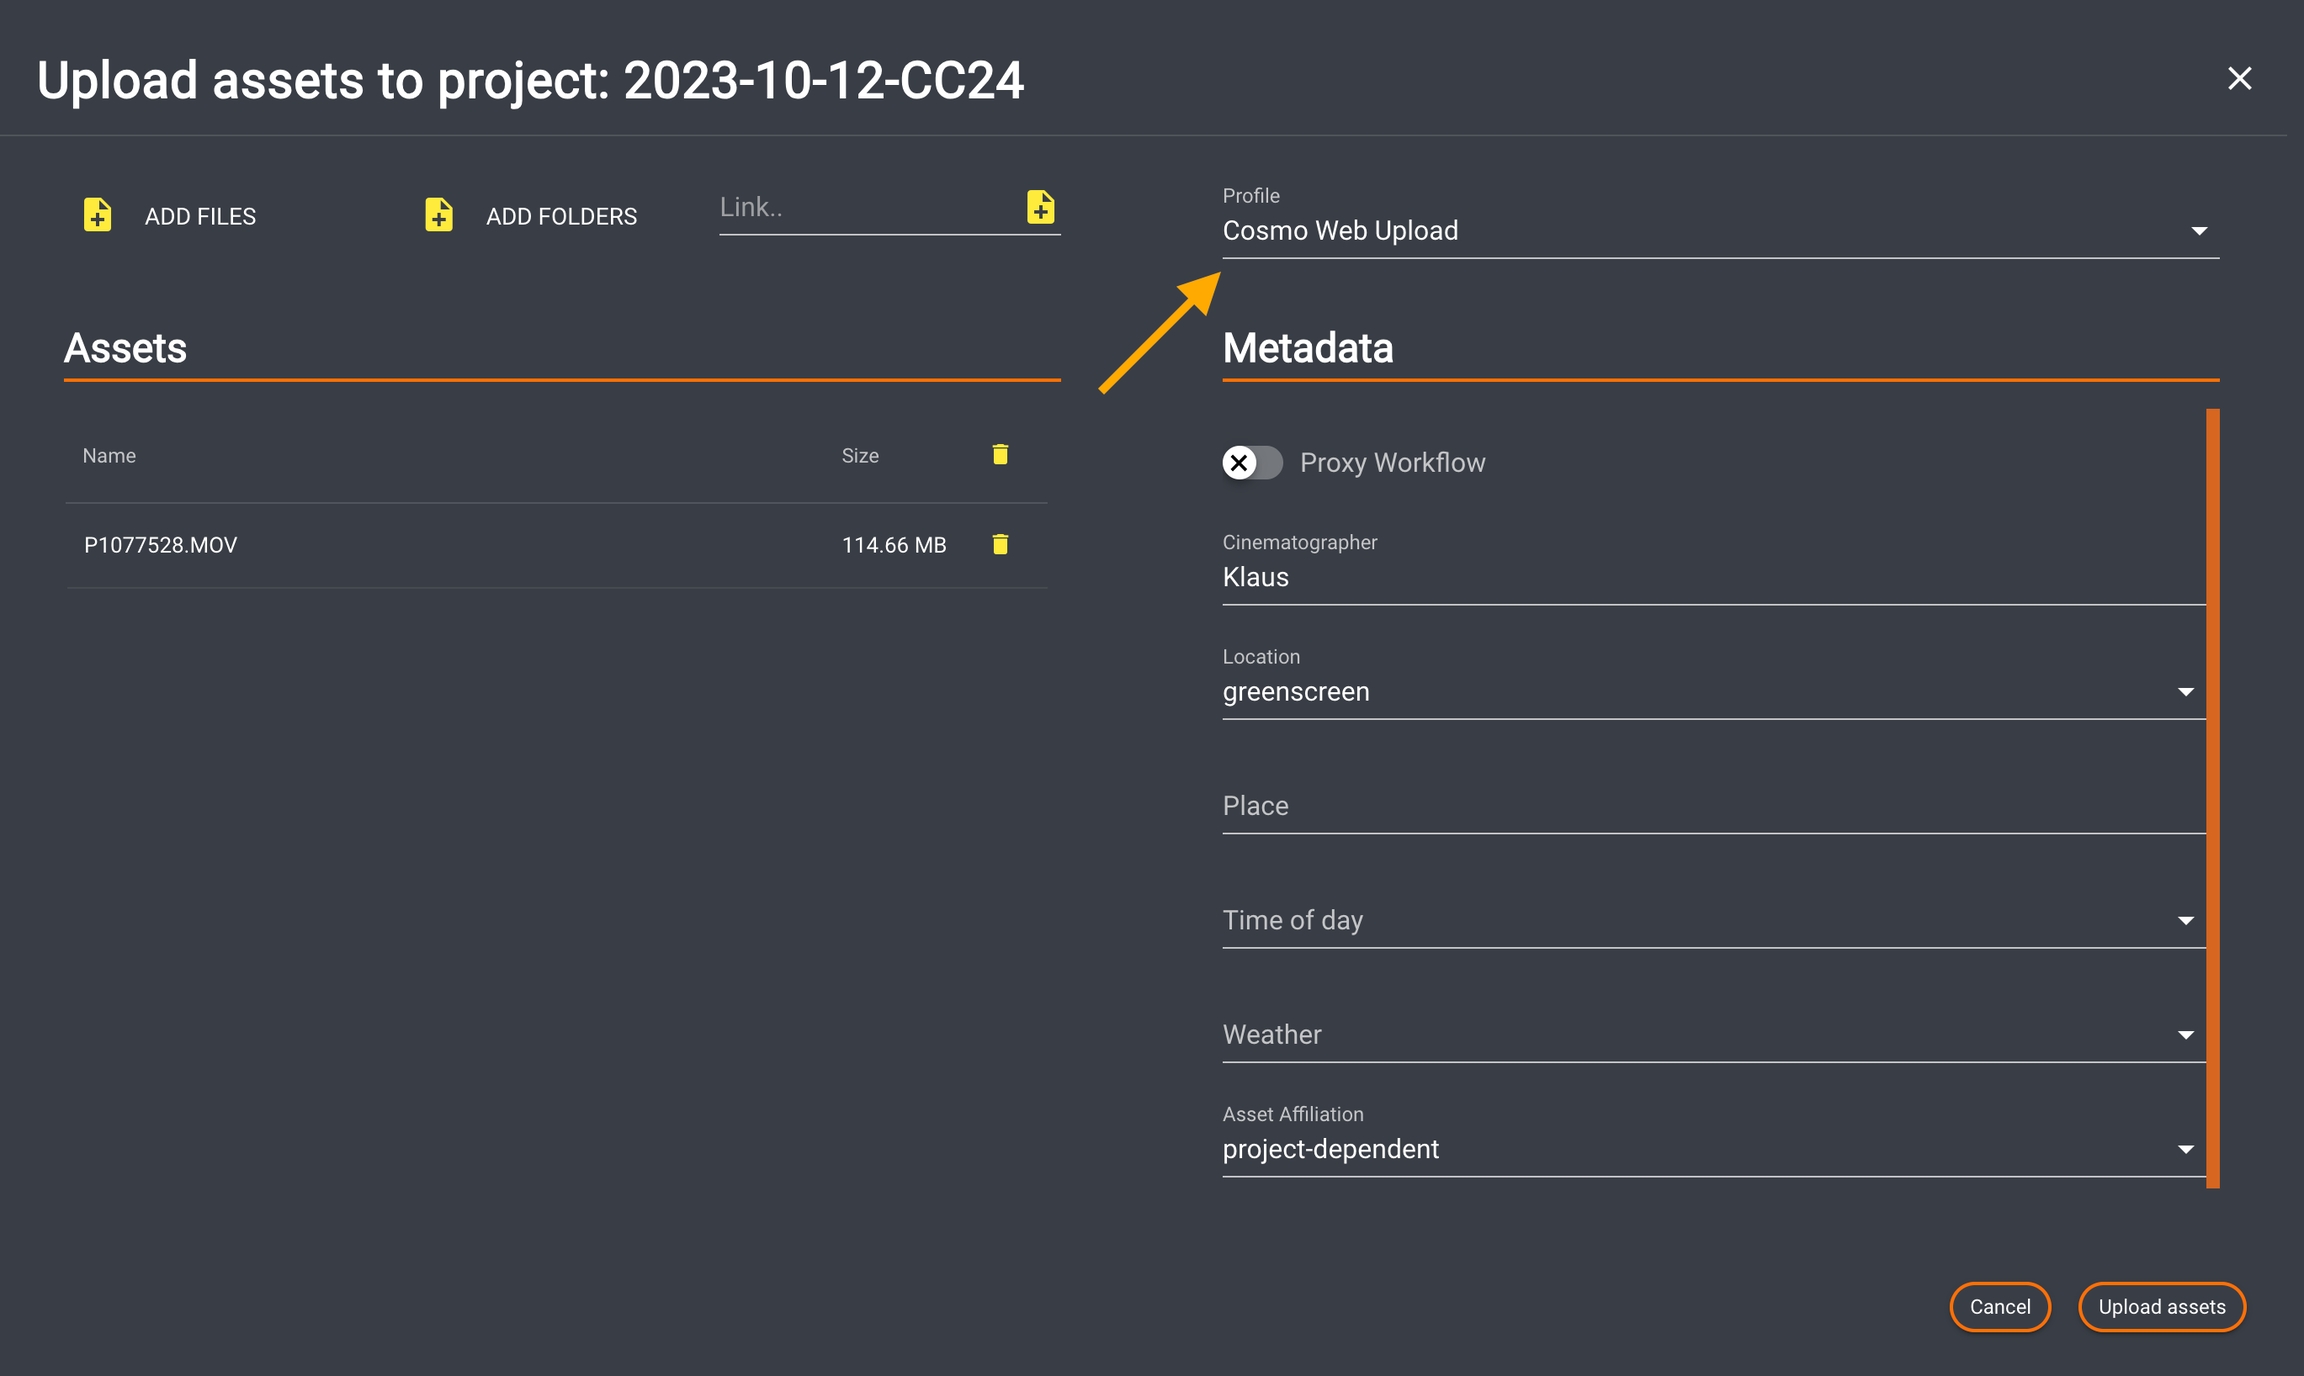
Displays the selected asset to be uploaded.
Can be used to remove one or all asset(s) from the list of assets to be uploaded.
Displays all metadata records based on the selected profile. The definition takes place via the profile, which is created in HIO.
Any stream with this trigger must have "CLIENT" as the host type. Since this stream needs to be assigned to any user/client, server execution is not possible.
After clicking the 'Upload Asset' button, an overlay opens. Please select the dedicated profile for processing. As profiles may use different , the metadata section may change.
Please refer to for further information.
