Helmut4 Client
There are three instances of the Helmut4 client for different operating systems.
The ones for Windows and Macintosh are intended for all kinds of actions (export, import, copy, etc.), while the Linux client is designed for unattended machines with almost the same functions, excluding any Adobe-related actions (AME rendering, AAF export, etc.).
Recommended System Requirements
Please refer to the information provided in Helmut4 Clients.
Download Helmut4 Client via GUI
The easiest way is to download the client from within the Helmut4 GUI once you have logged in as an admin.
Depending on the currently installed Helmut4 version (license container version), a corresponding client download will be available at the bottom of the side menu.
You can choose between a WIN and MAC version, and the latest client version will be provided."

Request Helmut4 client via URL
If required, you have the option to download the latest client installer by making a request through the API.
Get client version http://HELMUT-IP/v1/license/client/version Download client http://HELMUT-IP/v1/client/Helmut_Client_Setup_$helmutClientVersion.exe
http://HELMUT-IP/v1/client/Helmut_Client_Setup_$helmutClientVersion.pkg Example http://HELMUT-IP/v1/client/Helmut_Client_Setup_4.11.0.0.exe
http://HELMUT-IP/v1/client/Helmut_Client_Setup_4.11.0.0.pkg
Prerequisite Helmut4 client installation
Before running the client installer, ensure that all required Adobe applications are already installed.
If none are present during installation, no extension will be installed on the local machine!
Windows client
The client installation process is straightforward; simply execute the installer and follow the prompts in the installation dialog.
While it is possible to install the client as a service, we strongly advise against this option unless you possess a clear understanding of the process.
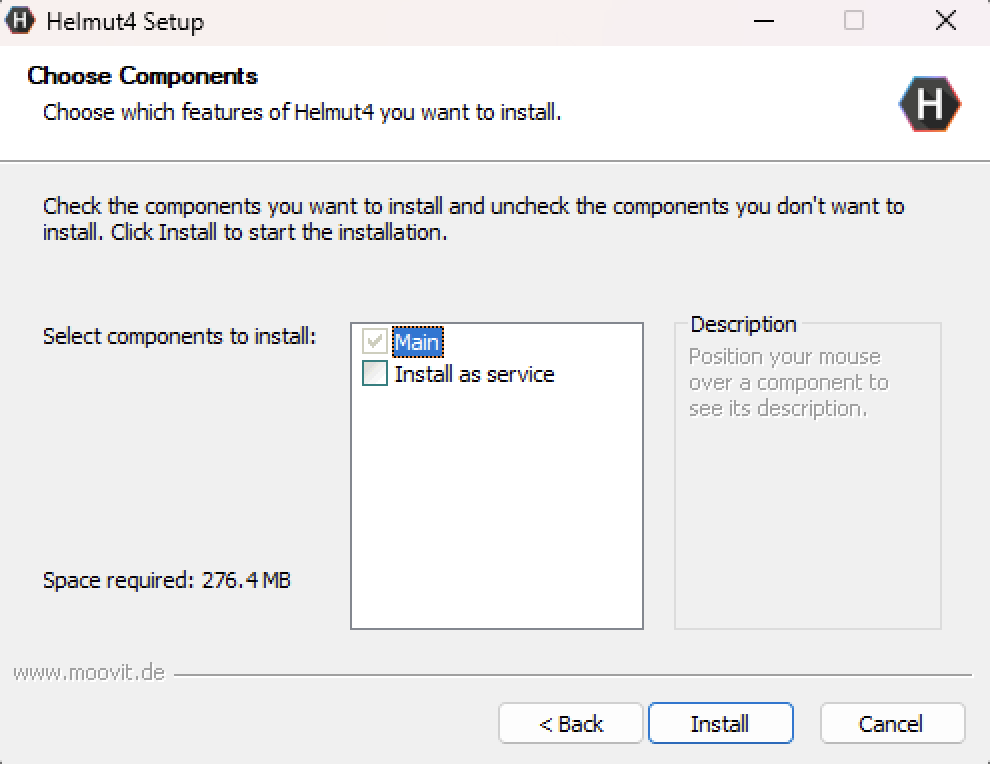
After the client is installed, an uninstaller is available for removing the client.
Unattended / automated client installation
Both the installer and uninstaller can be executed with the /S flag, running both tasks silently.
Macintosh client
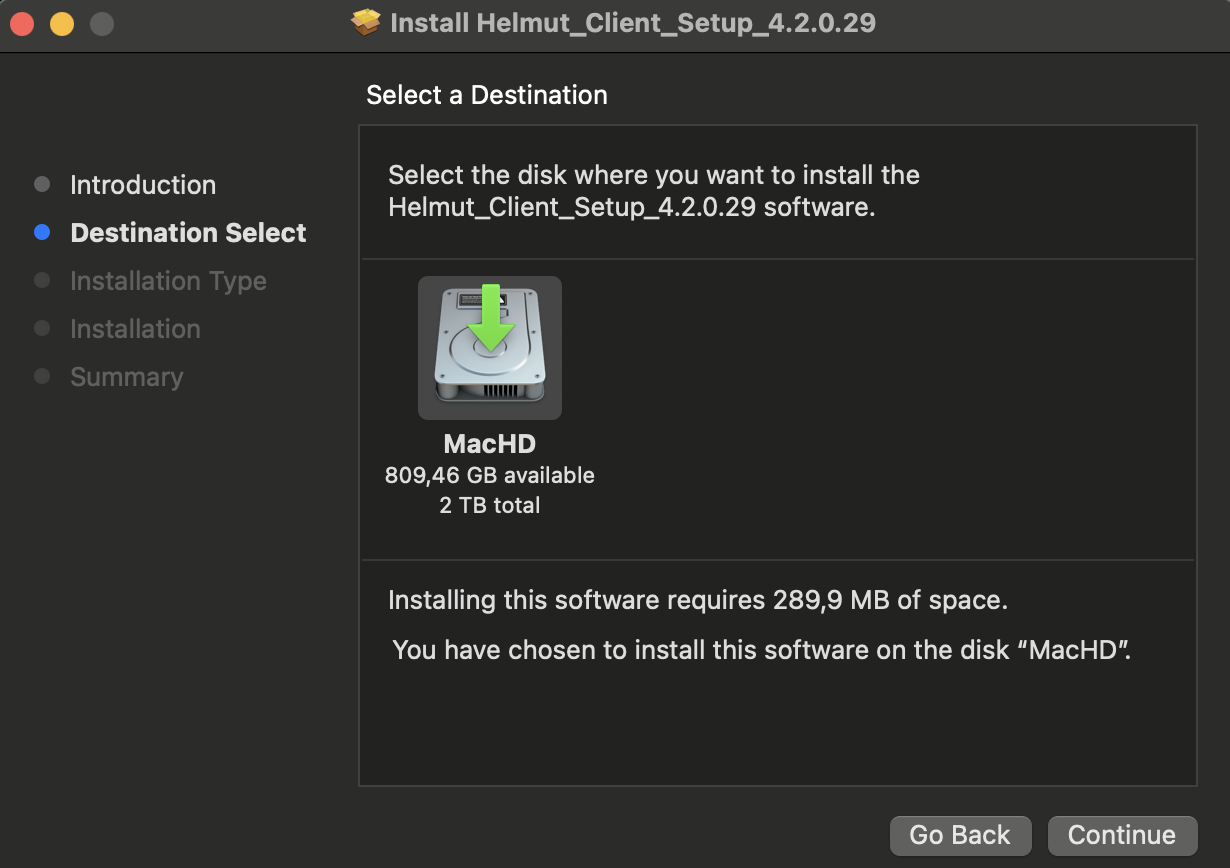
The client installation is straight forward, simply run the package installer and follow the installer dialog.
Network and local file access
Full Disk Access
We recommend granting the Helmut4 client full disk access within the Mac OS system settings under Privacy & Security.
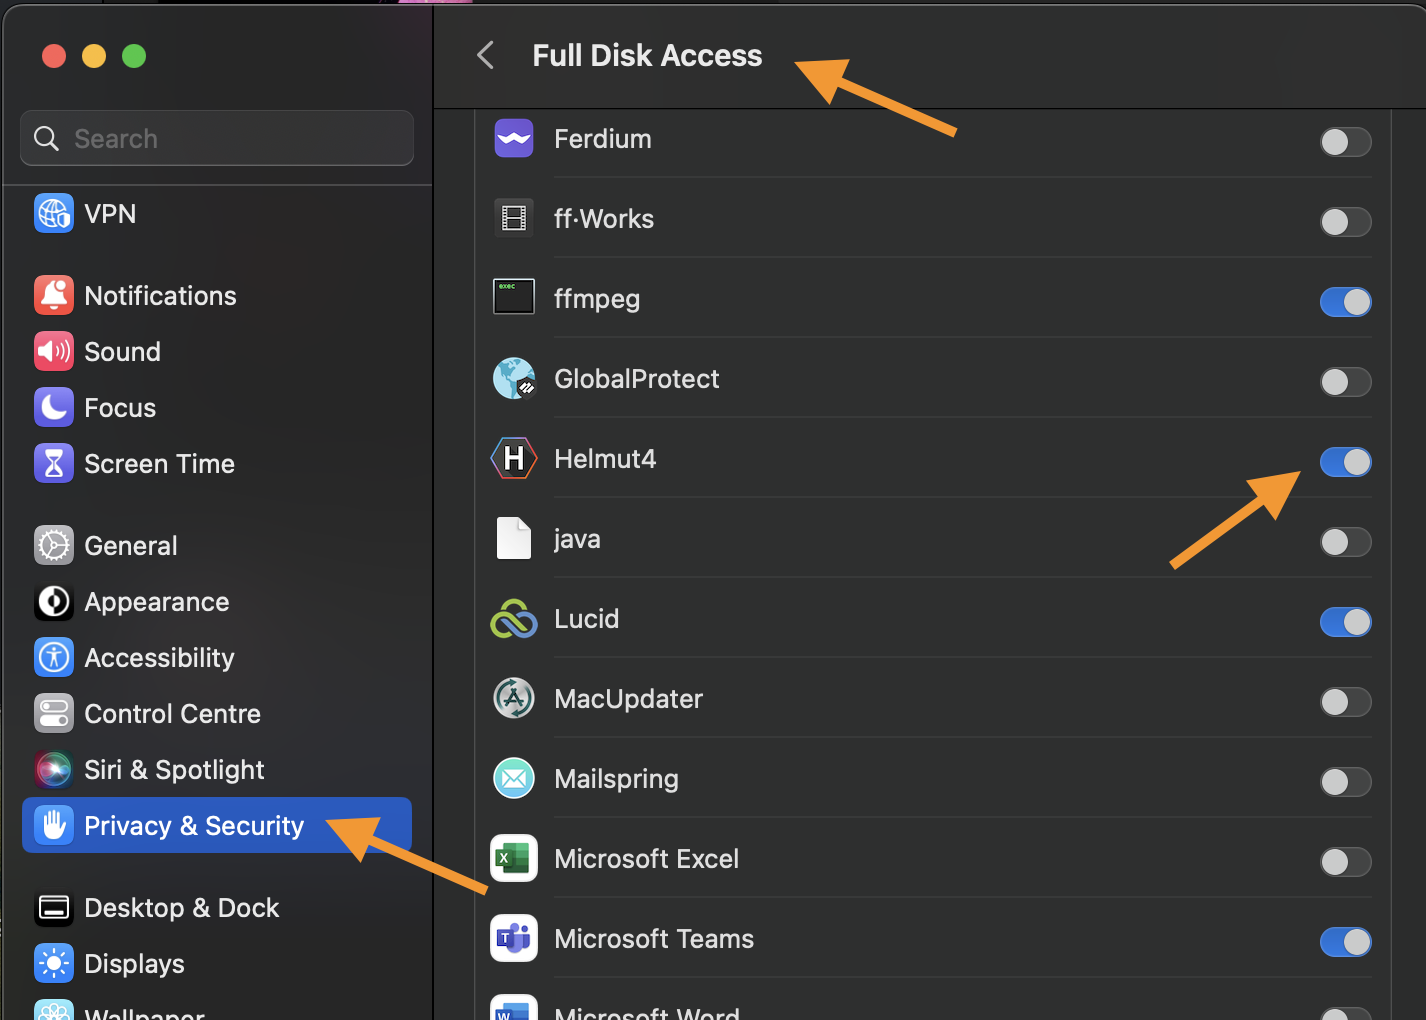
Of course, it is possible to configure permissions more granularly. However, please be mindful to conduct a thorough test of your workflows and consider the actions the client will perform, such as updating local Premiere Pro profiles in documents, importing assets from local folders or attached USB/network volumes, and sending messages to users.
Local Network
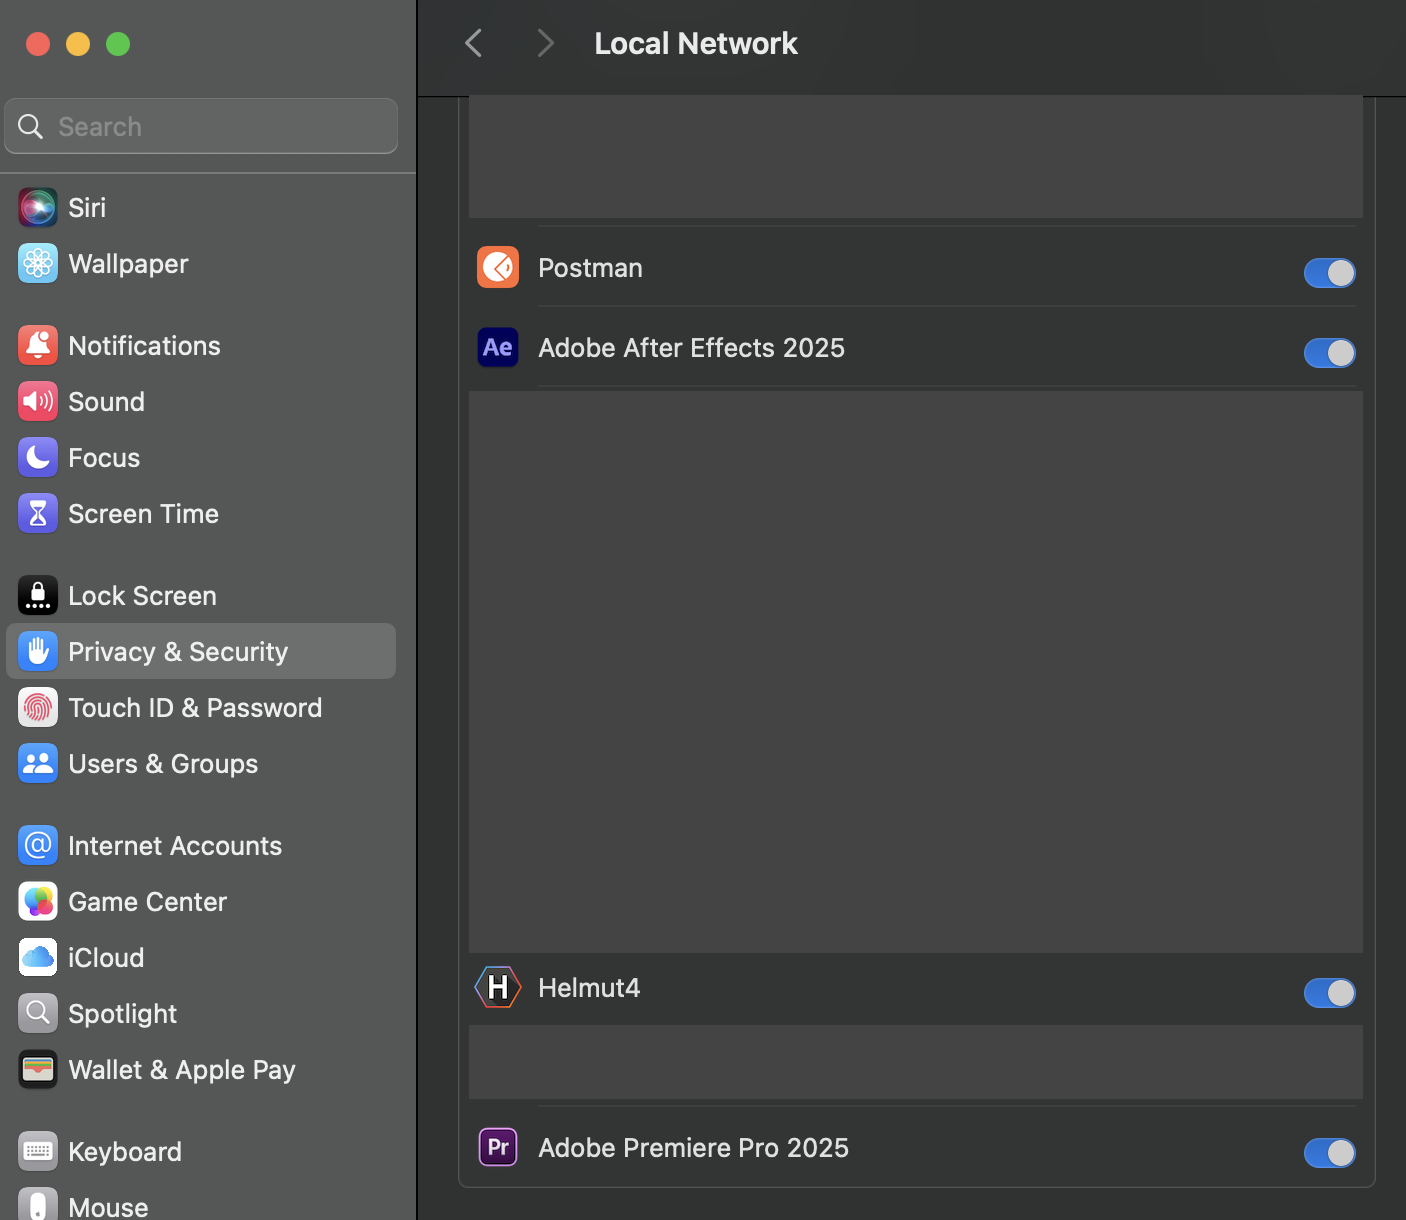
Starting with macOS 15, also known as Sequoia, we recommend granting local network permissions to both the Helmut4 client and Adobe applications (Premiere Pro, After Effects, and Media Encoder).
If you encounter a security warning stating that the app can't be opened and checked for malicious software, please take a look at this Apple support article.
Linux client
The Linux Client closely resembles the standard Helmut4 client, offering the same functionality for picking up and executing jobs. As it operates within a Docker container, its capabilities are contingent upon the apps installed on that OS.
Notably, Adobe-related nodes are unavailable due to the Linux environment.
Additionally, lacking a user interface for the Linux OS means that UI-interacting nodes will either not work or have no visible effect. Despite these limitations, a Linux client can process jobs similarly to a Windows or Macintosh client, offering enhanced flexibility.
Examples:
Spin up multiple clients or shut them down again according to the amount of queued jobs in the dashboard
Centralizing processes and offload performance from Win/Mac workstations to the Linux client(s) like project index, file copy processes, prestream handling, FFMPEG rendering, communicating with third party apps and so on
It is mandatory to set up an autologin file to enable automatic client connection. The autologin file must be placed on the host and mounted into the client via volumes.
Additionally, ffmpeg can be optionally configured, while mediainfo is preinstalled.
For further information on installing and setting up Linux Clients, please reach out to the support team via Requesting Support.
Install linux client on dedicated host
This script installs the Helmut4 Linux Client along with the required Docker environment and all necessary dependencies.
The installation method provided is designed for use on a vanilla Ubuntu server.
Any pre-existing installation of Docker or Portainer will cause the script to abort.
Ensure you run the command with sufficient sudo privileges or as the root user.
The script isn't intended to be used on an existing host running already a helmut4 stack!
Linux client installation (downloading all dependencies) curl -s https://repo.moovit24.de/install/linux_client_setup.sh | bash
Linux client stack example
Download the stack file for the linux client from this link:
Configuring an autologin file
To establish a connection between a Linux client and the message bus, an autologin file is essential. Since the client operates without a graphical user interface, accessing the Helmut4 website through a web browser is not possible for logging in.
To generate the autologin file, refer to the Users menu. For more detailed instructions, visit: Generate Autologin.
It's important to know that the token holds the web address where the autologin file was created so keep an eye on the URL while generating the autologin file. This distinction matters, especially with SSL. If you connect via an IP address instead of a DNS name, the connection may be rejected.
For clarity and easy identification of the associated render node, it is advisable to rename the autologin file. For example, name it as rendernode01.helmut.auto.login.
Now, copy this file to your server host or any folder on your network storage (ensuring the server has at least read access), and then proceed to Portainer.
Open the Linux worker stack file and navigate to the volumes section within it.
In the provided example, the autologin file has been duplicated to the local server, specifically to the directory /root/linuxclient.
The complete path to the autologin file is then inserted on the left side of the volume definition. It's crucial to note that the right side of the volume definition should remain unchanged; it should consistently point to /root/MoovIT GmbH/HelmutClient/helmut.auto.login.
ffmpeg for Linux client
As the Linux client is incapable of Adobe rendering, assets can be rendered using ffmpeg.
Due to the GNU Lesser General Public License (LGPL) version 2.1 or later, ffmpeg must be added manually to the container by the customer. For further information, please navigate to the FFmpeg License and Legal Considerations page.
The client requires a static version, which can be downloaded officially from https://www.johnvansickle.com/ffmpeg Place the binary on the host system of the Linux client(s) so that it can be accessed via the container volume, which needs to be configured. Ensure that the permissions for ffmpeg are set to 755 or above.
You can download it from within the host system via:
Put the 'ffmpeg' binary in a pre-defined location, and then copy the full path to the 'ffmpeg' binary on the host into the volumes section of the image configuration.
Example (as seen in the recoding):
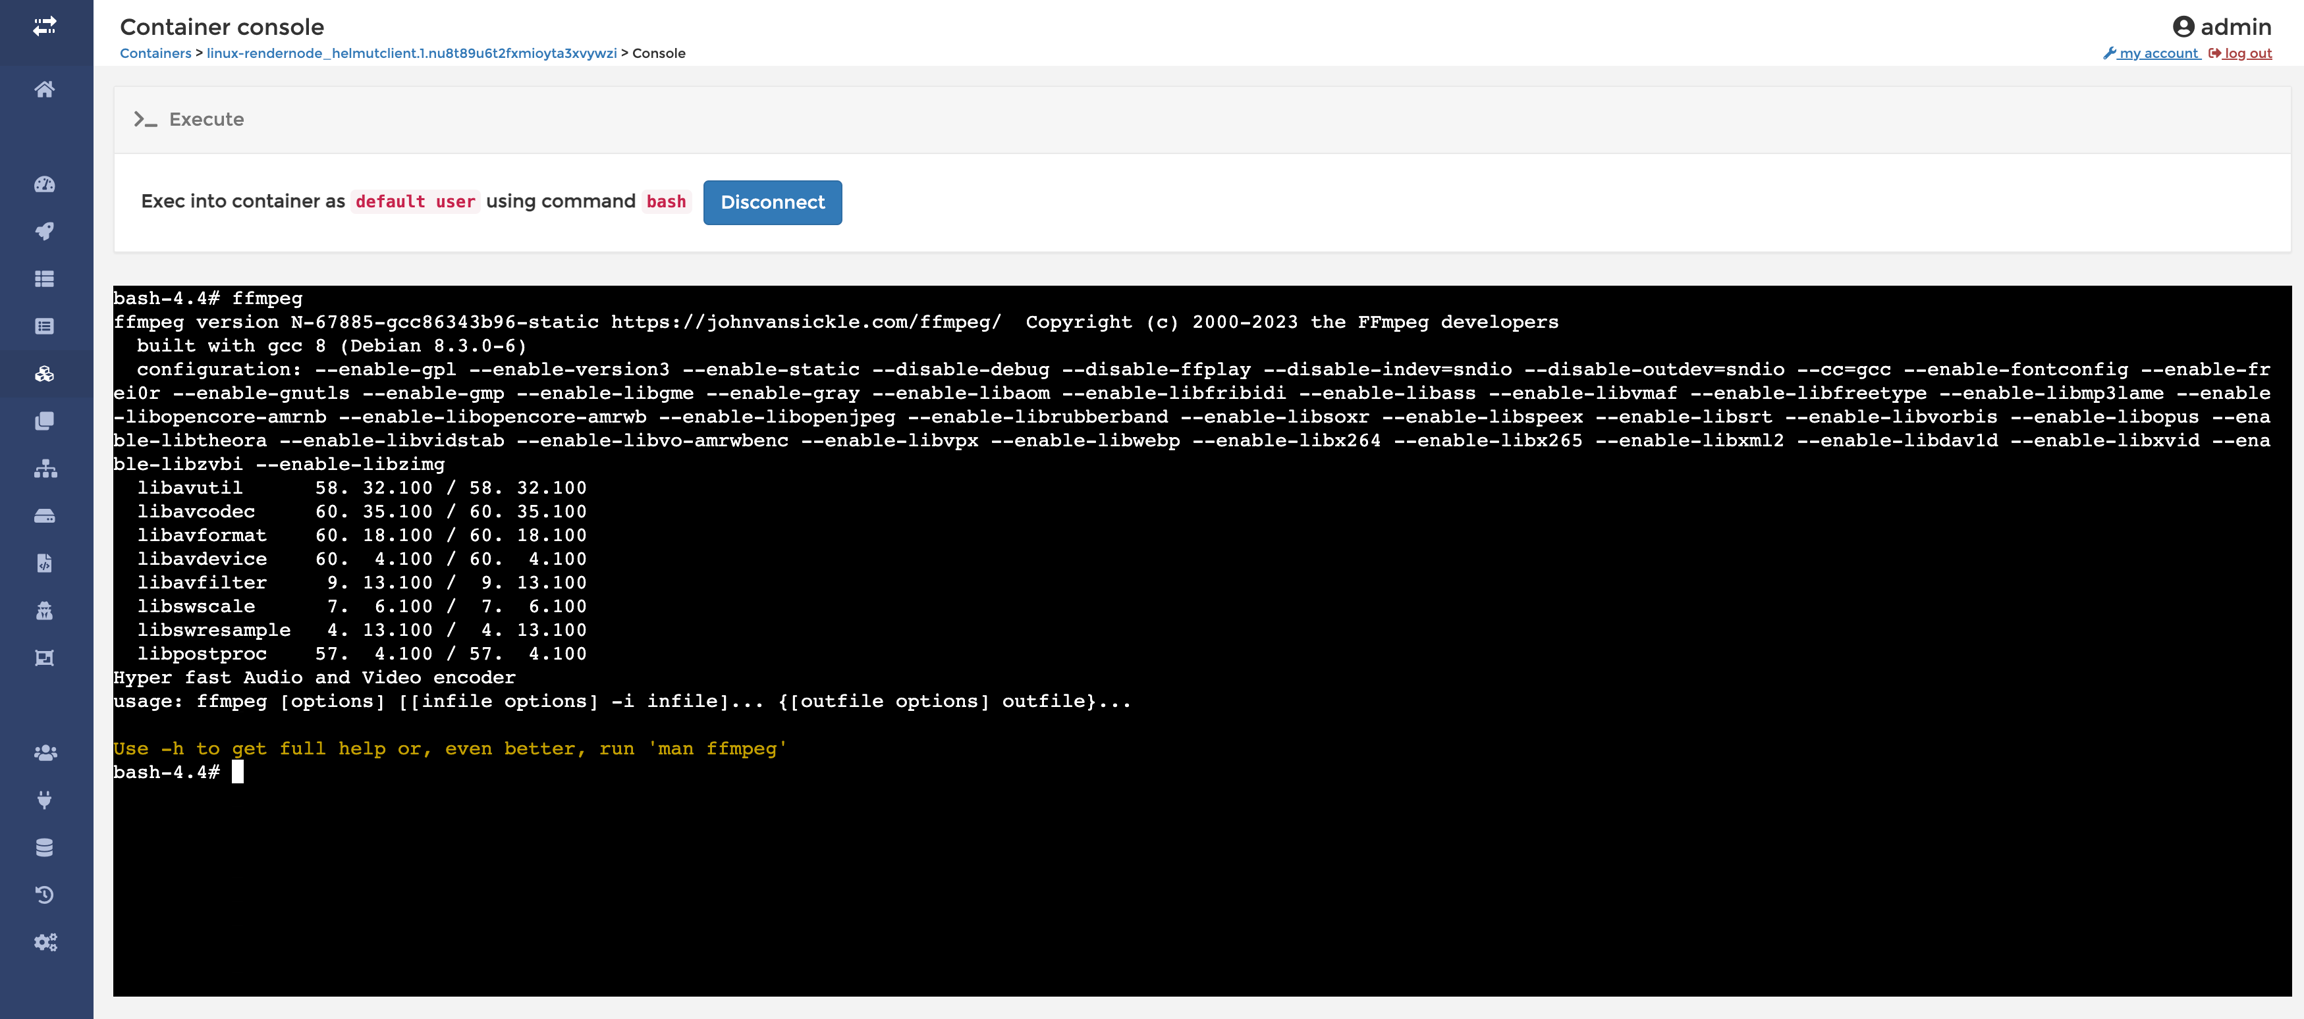
Conduct a final test by accessing the container through 'docker exec -it bash' or via Portainer (Container), and execute the command 'ffmpeg.'
You will observe the standard output for this command.
Additional Binaries for Helmut4 Linux Client
It is possible to add additional binaries to the Helmut4 Linux client. These binaries must be static builds, as only static builds can be forwarded or mounted into the container.
Examples of compatible binaries include:
rclone
7zip
Last updated